AI outfit detection: how it works + tool comparison
February 13, 2026
AI outfit detection: the plain-English definition
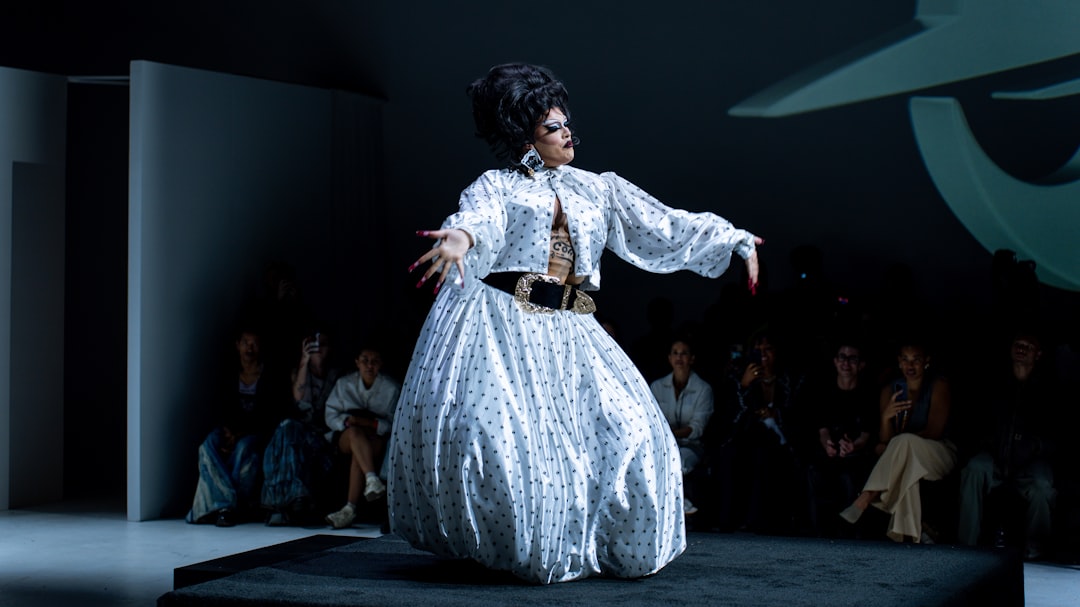
AI outfit detection is computer vision that looks at a photo (or a video frame) and labels what someone is wearing. Think: “black blazer,” “white tee,” “wide-leg jeans,” “white sneakers,” plus extra tags like “solid,” “striped,” “cropped,” or “oversized.” If you’ve ever wanted to turn a street-style shot into searchable tags or a shoppable post, this is the engine under the hood.
People mix up terms because vendors use them interchangeably. In practice, they’re related but not the same thing, and the difference matters when you’re choosing a tool.
- AI outfit detection: Identifies multiple garments in a single look (top, bottom, outerwear, shoes, accessories) and often returns structured labels for the whole outfit.
- Clothing recognition AI: Usually focuses on identifying a single garment (or a small set) and classifying it (e.g., “blazer,” “hoodie,” “midi skirt”). It’s often used for product tagging and visual search.
- Outfit analysis: Goes beyond “what items are present” into attributes and styling signals (colors, patterns, formality, vibe tags). Honestly, a lot of “outfit analysis” marketed online is just category + color with a trendy name.
Here’s a concrete example. You upload one street-style photo. A solid AI outfit detection system might output:
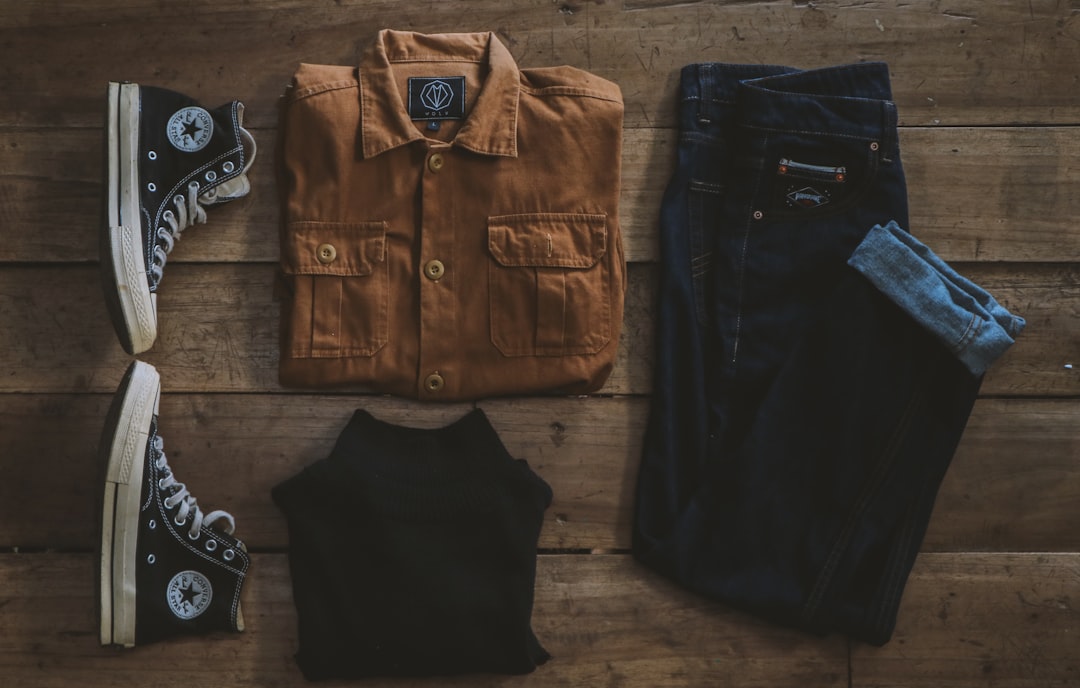
- Items: black blazer, white tee, wide-leg jeans, sneakers
- Colors: black, white, mid-wash blue
- Patterns: solid
- Extras: “casual,” “minimal,” “smart casual” (if the tool supports style tags)
The big win is speed. A social manager can tag 30 looks in an hour instead of spending an afternoon doing it manually. A retailer can generate metadata to power filters like “wide-leg” or “crew neck.”
The drawback: these systems can mislabel similar categories. “Blazer” vs “jacket” is a classic miss, especially when the lapel is hidden or the cut is oversized. Heavy layering (scarf + coat + crossbody + hair covering the neckline) also trips up AI outfit detection because the model can’t clearly see garment boundaries.
How AI outfit detection works (step-by-step pipeline)
Most AI outfit detection tools follow the same pipeline. The UI might look different, but behind the scenes it’s usually a sequence of models and rules that turn pixels into structured tags. Research from DeepFashion2: a benchmark for clothing detection, segmentation, and landmark estimation supports this.
- Preprocessing: The system resizes the image, normalizes colors, and sometimes sharpens or denoises. If it’s video, it samples frames (like 1–5 frames per second) instead of processing every frame.
- Person detection: It finds the human(s) in the image and isolates the region of interest. This step prevents the model from tagging a background curtain as a “skirt.”
- Garment segmentation: It separates clothing regions: top vs pants vs outerwear vs shoes. Better systems return pixel-level masks, not just boxes.
- Classification: Each segmented region is classified into a category (blazer, trench coat, tank top, maxi dress, loafers, etc.). This is where clothing recognition AI overlaps heavily with AI outfit detection.
- Attribute extraction: The model adds details: color(s), pattern, sleeve length, neckline, fit cues, logo presence, and sometimes style tags.
- (Optional) Catalog matching: If you have a product catalog, the system tries to match detected items to SKUs using similarity search. This is the “shop the look” step and it’s harder than it sounds.
If you want a simple featured-snippet style diagram, it’s basically this: Research from Google Research on scaling visual product recognition for e-commerce supports this.
Input (photo/video frame) → Person detection + garment segmentation → Category + attribute models → Structured output (JSON tags, masks, confidence scores, optional product IDs)
That “structured output” is what makes AI outfit detection useful. It can feed search filters, generate alt text, power analytics (“37% of new arrivals include wide-leg silhouettes”), or guide creative automation like turning a static outfit image into a short video.
Here’s the caveat nobody loves hearing: accuracy drops fast when the image quality drops. Motion blur, low light, occlusion (a bag covering the waistline), and non-standard silhouettes (avant-garde shapes, capes, extreme draping) all reduce confidence. Black-on-black outfits are another pain point; the model can’t separate garment edges when everything is the same tone.
If you’re using AI outfit detection for anything customer-facing (like “shop the look”), you’ll want confidence thresholds and fallbacks. A practical rule: don’t auto-publish low-confidence tags. Route them to human review or keep them internal for analytics only.
The tech behind fashion AI technology (what models actually do)

Fashion AI technology used to be dominated by CNNs (convolutional neural networks), and they’re still common because they’re efficient and strong at recognizing textures and local patterns. Vision Transformers (ViTs) are now widely used too, especially when you need better global context (like understanding a long coat that overlaps pants and boots). CNNs often win on speed; ViTs often win on “seeing the whole outfit” when the scene is messy.
Under the hood, many systems also generate embeddings—numeric vectors that represent an image or a garment region. Embeddings are what make similarity search work. Like when Pinterest shows visually similar outfits, it’s often embedding-based retrieval rather than pure category labels.
What “good” looks like technically
- Segmentation masks: Pixel-level masks let the system separate a blazer from a tee underneath. Boxes alone are faster but sloppier, especially with layering.
- Confidence scores: Every prediction should come with a probability. If your tool can’t tell you “blazer: 0.62 vs jacket: 0.58,” you’re flying blind.
- Taxonomy design: Your label set matters as much as the model. If your taxonomy lumps “overshirt” into “jacket,” your results will feel wrong to fashion people even if the model is “technically correct.”
- Retrieval-based matching: For catalog matching, many systems do a two-step approach: (1) detect “this is a black blazer,” then (2) retrieve the most similar black blazers from your catalog using embeddings, then re-rank.
The limitation that shows up in real life: training data bias. If the model was trained mostly on straight-size bodies, Western streetwear, and studio-lit product shots, it may underperform on plus-size fit cues, cultural garments (like saris, abayas, hanbok), and non-Western styling norms. This isn’t a moral lecture; it’s a practical warning. If your audience is diverse, you need to test AI outfit detection on your actual customer photos, not just sample demos.
Outfit analysis outputs you can expect (and what’s marketing)
Most outfit analysis outputs fall into four buckets. If a vendor claims 25 different output types, they’re usually variations of these.
- Categories: The “what” (blazer, tee, wide-leg jeans, sneakers, belt, handbag).
- Attributes: The “details” (color, pattern, sleeve length, neckline, rise, wash, heel height, toe shape).
- Style tags: The “vibe” (minimal, preppy, streetwear, business casual, date night). These are subjective and often noisy.
- “Shop-the-look” product IDs: Links to SKUs or product candidates, usually via retrieval/embedding matching.
A real ambiguity you’ll see: “striped knit top” vs “striped shirt.” If your taxonomy has “shirt” as woven button-downs and “top” as knits and tees, the difference matters. If your taxonomy is loose, the model will bounce between labels and your analytics will look inconsistent.
Here’s the thing about fabric detection claims. Many tools say they can detect “cotton,” “linen,” or “cashmere.” In 2026, most of that is still inference from visual cues (texture, drape, sheen), not true material identification. A shiny satin skirt might get tagged as “silk” even if it’s polyester. If fabric is legally or operationally critical (care instructions, compliance), don’t rely on visual fabric tags without verification.
My opinion: the most useful “outfit analysis” outputs are the boring ones—clean categories, consistent colors, and a handful of attributes your team actually uses. A giant list of style adjectives looks cool in a demo and then quietly breaks your filters.
Comparison: AI outfit detection for video vs for eCommerce tagging
AI outfit detection has two very different end games. Creators and social teams want speed and aesthetics. Retailers want metadata that makes search, filters, and recommendations work.
Creators care about questions like: “Can I turn this one outfit photo into a Reel in under 2 minutes?” Retailers care about: “Can I tag 20,000 SKUs consistently and improve search conversion?” Same core tech, totally different success metrics.
Mini case study: boutique vs big catalog
Boutique posting 5 outfits/week: They shoot 5 mirror pics on Monday, want 5 vertical videos by lunch, and schedule them across Reels/Shorts/TikTok. They don’t need a 400-label taxonomy. They need outputs that look polished and consistent.
Retailer with 20,000 SKUs: They need structured tags like “neckline=halter,” “hemline=midi,” “pattern=gingham,” plus confidence scores and audit trails. They also care about taxonomy governance because five merchandisers tagging differently creates a mess.
The limitation: one tool rarely nails both video generation and deep catalog mapping without tradeoffs. Video-first tools optimize for cinematic output and speed. API-first stacks optimize for precision, customization, and integration. If you try to force one tool to do both, you usually end up unhappy on at least one side.
| Feature/Aspect | Option A (Outfit Video) | Option B (API-first detection stack) | Winner |
|---|---|---|---|
| Primary outcome | Turns outfit images into short vertical videos using detection-guided motion | Returns garment tags/attributes for apps, search, and analytics | Tie |
| Workflow | No-edit, creator-friendly; upload image → generate video | Developer-led; integrate API → build UI + logic | A |
| Detection depth (items + attributes) | Clothing items, colors, style signals used to guide video generation | Often deeper attribute taxonomies; can include embeddings for retrieval | B |
| Best fit | Influencers, social teams, boutiques needing Reels/Shorts fast | Retailers needing tagging, search filters, ‘shop the look’ | Tie |
| Limitations to expect | Not designed as a full catalog-tagging system; fewer custom taxonomies | Requires engineering + QA; output may not be video-ready | Tie |
Summary: If your end goal is short-form outfit videos, pick a system where AI outfit detection drives the creative output; if your end goal is catalog intelligence, an API-first stack usually wins.
Option A — Outfit Video (AI outfit detection for vertical videos)
Option A is a video-first workflow where AI outfit detection is used as a creative guide. Instead of dumping a spreadsheet of tags, the system uses garment understanding (where the blazer is, where the pants are, dominant colors, silhouette cues) to generate motion and framing that looks intentional.
What the workflow looks like
- Upload a static outfit image: Mirror pic, street-style shot, or a clean product-on-model photo.
- AI outfit detection runs in the background: It identifies key garment regions and visual hierarchy (what should be emphasized).
- The tool generates a cinematic vertical video: Subtle motion, zooms, and transitions that feel like an edited clip, without you touching a timeline.
- Export and post: Download and publish to TikTok, Instagram Reels, and YouTube Shorts.
Outfit Video is built around that exact flow: transform outfit images into stunning videos. The practical value is simple—if you don’t have editing skills (or time), you can still post content that looks like it took effort.
Specs that matter for social teams
- Vertical-first formats: Designed for Shorts/Reels/TikTok, not repurposed from horizontal.
- Resolution options: 720p when you need speed and volume; 1080p Full HD when you want sharper detail for fabric texture and accessories.
- Encrypted downloads: Helpful if you’re handling unreleased drops, influencer content under embargo, or client campaigns.
- No editing skills needed: Upload → generate → post. That’s the whole point.
The limitation: this isn’t a replacement for a full clothing taxonomy system. If your business needs consistent master data (like “neckline=queen anne” across 12,000 dresses), a video-first tool won’t give you the governance controls you’d get from an API-first stack. It’s best when the deliverable is content output, not a product database.
Option B — API-first clothing recognition AI stack (build-your-own)
Option B is the build-your-own route: you buy clothing recognition AI capabilities via API and wire them into your product pipeline. This is where teams get serious about structured metadata, search relevance, and “shop the look” experiences that don’t fall apart under scale.
What you typically buy in an API-first stack:
- Detection: Find garments and (sometimes) accessories.
- Segmentation: Pixel masks for each garment region.
- Attributes: Color, pattern, sleeve length, neckline, fit cues, and brand/logo detection (varies a lot).
- Embeddings: Vectors for similarity search and retrieval-based matching.
- Confidence scores: So you can set thresholds and route uncertain results to review.
Example use case: auto-tagging product images
Say you run an online store and your filters are weak. Customers can’t narrow down “wide-leg” vs “straight,” or “crew neck” vs “square neck.” You run your product images through AI outfit detection and write the tags back into your PIM or catalog database. Then your on-site filters and internal search improve without manually tagging every SKU.
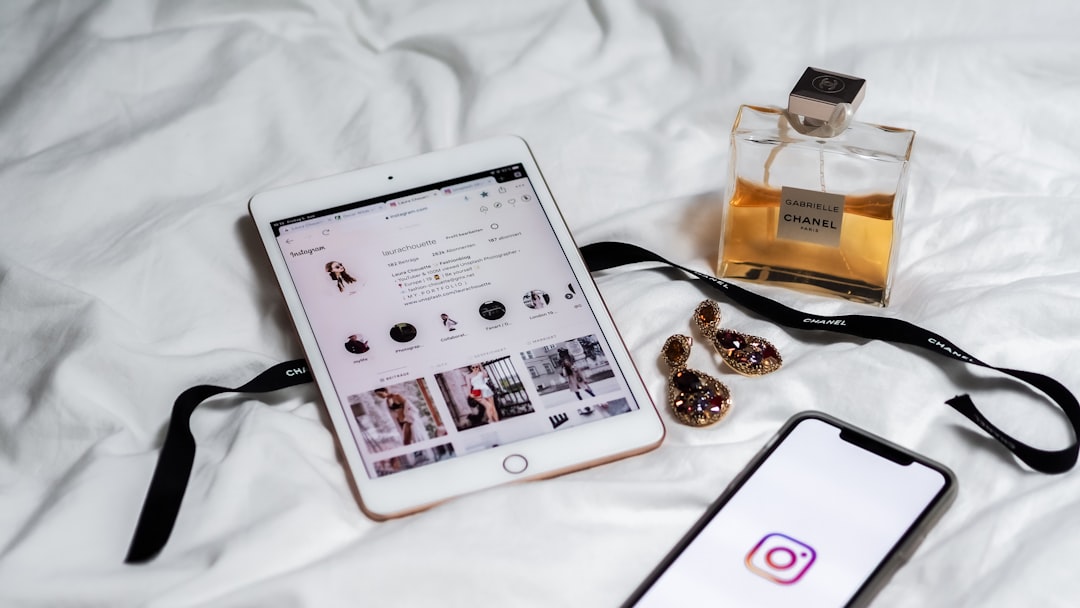
This can also power “shop the look” on UGC. A customer posts an outfit photo, the system detects “black blazer + white tee + wide-leg jeans,” then retrieves the closest matches from your catalog using embeddings.
The limitation is the integration burden. You’ll need engineering time, QA, monitoring, and a plan for taxonomy alignment. If your API returns “outerwear=jacket” but your merch team uses “blazer,” “overshirt,” and “shacket,” you’ll spend real time mapping labels and cleaning data. If you don’t, your tags will look random across the site.
Feature-by-feature breakdown (what matters most in practice)
When people shop for AI outfit detection, they get distracted by long feature lists. In practice, a few factors decide whether you’ll love the tool or quietly stop using it.
Ready to implement this? Explore Outfit Video and see how it can help your team.
My ranking of decision factors (most important first):
- Segmentation quality: If the system can’t separate garments cleanly, everything downstream gets messy (attributes, matching, even video motion guidance).
- Attribute coverage: Colors and basic patterns are table stakes. The real question is whether it reliably tags the attributes your audience filters by.
- Catalog matching: If “shop the look” is a goal, embeddings + retrieval quality matter more than cute style adjectives.
- Speed: Creators feel this instantly. Retailers feel it at scale (throughput and processing time).
- Privacy/security: Especially if you’re processing influencer shoots, unreleased collections, or customer photos.
Deal-breakers (use numbers, not vibes)
- If you need <2 minutes per asset turnaround: pick a video-first workflow (Option A) where AI outfit detection is tied directly to exportable video.
- If you need to process 50,000+ images/month: pick an API-first stack (Option B) with batching, retries, and monitoring.
- If you need pixel masks for layering or virtual try-on: you’ll want segmentation outputs (usually Option B).
- If your team has 0 engineers available: don’t pretend you’ll “just integrate an API.” Choose no-code.
The caveat: higher attribute depth can increase false positives. If a model tries to predict 120 attributes, it will confidently hallucinate some of them unless you set good confidence thresholds. A tighter attribute set with stricter thresholds often beats a “kitchen sink” model in real workflows.
| Feature/Aspect | Option A (Outfit Video) | Option B (API-first detection stack) | Winner |
|---|---|---|---|
| Segmentation vs bounding boxes | Good-enough garment understanding for motion guidance (varies by photo) | Often offers segmentation masks and confidence scores | B |
| Attribute tagging (pattern, sleeve, neckline) | Core attributes used for video styling cues | Typically broader attribute coverage and customization | B |
| Video outputs | Native vertical video generation; 720p and 1080p options | None (needs separate video tool) | A |
| Security & downloads | Encrypted access for secure downloads | Depends on vendor; often enterprise controls | Tie |
| Time-to-value | Minutes (upload → export) | Days to weeks (integration + testing) | A |
Summary: Option A wins on speed and video output; Option B wins on precision controls, segmentation, and attribute breadth.
Pricing: what you’ll really pay in 2026
Pricing for AI outfit detection in 2026 usually falls into two buckets: per-video credits (video-first) and per-image API calls (API-first). The tricky part is that the sticker price rarely includes the real operational costs.
Common pricing models
- Per-video / credit-based plans: You pay per export or via a monthly credit pool. Resolution (720p vs 1080p) and video length can affect credits.
- Per-image API calls: You pay per request with volume tiers (the per-image cost drops as volume rises). Enterprise plans may require annual contracts.
- Hybrid: Some teams pay for an API plus a separate creative tool for video, which is common if you need both metadata and content output.
Two cost scenarios (with real numbers)
- Creator/social team: 200 assets/month (roughly 50 posts/week across channels). Video-first pricing is predictable because you’re paying for exports. Your main variable cost is volume and resolution choice.
- Retailer: 50,000 images/month (new drops + refreshes + UGC + retagging). API-first can be cost-effective per image, but you’ll also pay in engineering time, QA, and ongoing monitoring.
The limitation: pricing pages rarely include QA/human review costs. If you review 10% of outputs weekly and each review takes 45 seconds, that’s real labor. For a retailer processing 50,000 images/month, even a 5% sampling rate is 2,500 reviews. That cost belongs in the budget next to the API bill.
| Feature/Aspect | Option A (Outfit Video) | Option B (API-first detection stack) | Winner |
|---|---|---|---|
| Pricing model | Per video or credit-based plans (varies by resolution/length) | Per image/API call + volume tiers; sometimes annual contracts | Tie |
| Hidden costs | Lower; mostly content volume and resolution choices | Higher; engineering time, QA, monitoring, edge-case handling | A |
| Best value when… | You publish frequently on Reels/Shorts and need fast output | You process large catalogs and need structured metadata at scale | Tie |
Summary: Total cost isn’t just the subscription: API-first AI outfit detection often looks cheap per image but gets expensive once you add integration and QA.
Best-for recommendations (pick based on your workflow)
If you choose based on your workflow instead of feature hype, the decision gets easier.
Best for creators/influencers
Pick a video-first tool when your deliverable is content. If your goal is to post consistently to Reels/Shorts without editing, you want AI outfit detection that feeds directly into a vertical video export. That’s how you get from “I took a mirror pic” to “I posted three clips” without losing your day.
Best for eCommerce brands
Pick an API-first clothing recognition AI stack when your deliverable is metadata. If you need tagging, search, and “shop the look” pipelines, you’ll want control over taxonomies, confidence thresholds, and catalog matching logic. That’s the difference between “cool demo” and “this actually improved our on-site filters.”
The caveat: if you need both outcomes (metadata and short-form content), you may end up with a two-tool stack. A common setup is: API-first AI outfit detection for structured tags + a video generator for creative output.
My recommendation and clear winner (with reasoning)
My recommendation framework is blunt: choose the tool that matches your final deliverable. AI outfit detection is the means, not the end. The end is either (1) content that gets posted or (2) metadata that powers a shopping experience.
Clear winner for short-form vertical content: Outfit Video wins on time-to-post and output format. If your team’s bottleneck is “we have photos but we can’t edit fast enough,” video-first is the shortest path to consistent publishing. Upload an outfit image, let AI outfit detection guide the motion, export a vertical clip, done.
Clear winner for catalog intelligence: API-first wins on depth. If you need segmentation masks, confidence scores, embeddings for retrieval, and taxonomy customization, you’ll get more control and better long-term consistency with an API-first clothing recognition AI stack.
No system is perfect, so plan for edge cases. Layering, accessories, dark outfits, reflective materials, and unusual silhouettes will produce misses. The practical fix is boring but effective: set confidence thresholds, add a review step for low-confidence outputs, and keep a “known failure” folder to test against whenever you change models or taxonomies.
If you want one sentence: use Outfit Video when the output is a Reel; use API-first AI outfit detection when the output is a database.
People Also Ask: quick answers about AI outfit detection
Can AI detect outfits in video?
Yes, but it usually works by analyzing individual frames, not the whole video at once. Accuracy depends on frame clarity. Motion blur, fast cuts, and low light reduce reliability, so most teams use confidence thresholds and only tag frames above a set score.
Is AI outfit detection the same as visual search?
Not exactly. AI outfit detection labels what’s in an image (categories and attributes). Visual search is about finding similar items in a catalog, usually using embeddings and retrieval. Many products combine both, but you can have detection without search, and search without detailed detection.
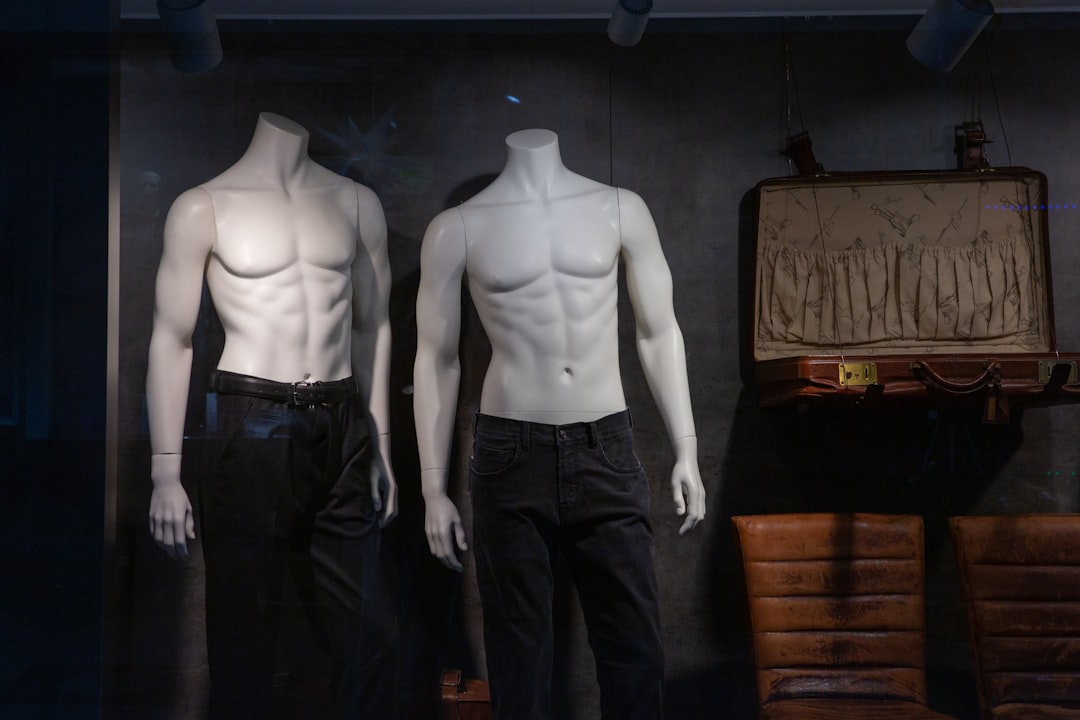
Does it work on mannequins?
Sometimes. Tools trained mostly on humans can fail on mannequins because the body cues and proportions differ. Clean, front-facing mannequin shots with good lighting tend to work better. If mannequins are core to your catalog, test 100 images before committing.
What’s the best photo type for AI outfit detection?
Clear, well-lit images with minimal occlusion perform best. Front-facing product-on-model shots usually beat street photos. If you’re using UGC, aim for higher resolution and avoid heavy shadows; even small improvements in lighting can boost category accuracy.
Can AI outfit detection identify brands and logos?
Some systems can detect obvious logos, but it’s inconsistent and depends on training data and logo visibility. Small embroidered marks and tonal logos are often missed. Treat logo detection as a “nice to have,” and only auto-publish it when confidence is high.
How do I reduce mislabels like blazer vs jacket?
Use a tighter taxonomy, add training examples if you can, and apply confidence-based rules. If “blazer” and “jacket” are close in score (like 0.55 vs 0.52), route it to review or label it as “outerwear” until confirmed. That beats confidently wrong tags.
Implementation checklist (so results don’t look sloppy)
AI outfit detection looks amazing when inputs are clean and chaotic when inputs are chaotic. This checklist keeps your outputs consistent, whether you’re generating videos or tagging catalogs.
Image guidelines (good/better/best)
- Good: 1080px on the shortest side, indoor lighting, outfit mostly visible, minimal blur.
- Better: 1600px+ shortest side, even lighting (no heavy shadows), simple background, full outfit in frame.
- Best: 2000px+ shortest side, consistent backdrop, no occlusion (bag not covering waist), front + back angles for product tagging workflows.
Operational rules that prevent a mess
- Naming conventions: Use a consistent pattern like brand_stylecolor_angle_001.jpg. If you can’t find assets later, your pipeline slows down fast.
- Confidence thresholds: Decide what “auto-accept” means (e.g., publish tags above 0.80; review 0.50–0.80; discard below 0.50). The exact numbers depend on your tool, but you need rules.
- QA sampling rate: Review 5–10% weekly. If you changed lighting setups, models, or taxonomies, bump it to 15% for two weeks.
- Taxonomy alignment: Write down your category definitions. If “overshirt” is a thing in your brand voice, don’t bury it under “jacket” and expect clean analytics.
Example: batch 10 outfit photos and publish 10 videos in a day
A social manager can shoot 10 outfits in one session, pick the best 10 photos, run them through a video-first workflow, and schedule 10 vertical posts in a single day. The key is consistency: same framing, similar lighting, and full-body shots when possible. That’s how your feed looks intentional instead of random.
The limitation: strict image rules can kill spontaneity. If you’re a creator who thrives on candid street shots, go with a “good/better/best” mindset instead of perfection. Use “best” for brand deals and product launches, and “good” for daily posting. You’ll still get value from AI outfit detection without turning content into a production.
FAQ
What is AI outfit detection?
AI outfit detection is a type of computer vision that identifies clothing items in an image or video (like tops, pants, dresses, shoes, and accessories) and often labels attributes such as color, pattern, fabric cues, fit, and style. It’s used for tagging products, powering “shop the look,” improving search filters, and guiding automated content creation (like turning an outfit photo into a short video). Accuracy depends heavily on training data and image quality.
How does AI outfit detection work step by step?
Most systems follow a pipeline: (1) detect the person and clothing regions (segmentation), (2) classify each garment category (e.g., blazer vs jacket), (3) extract attributes (color, pattern, logo, sleeve length), (4) optionally match to a catalog (retrieval), and (5) output structured tags for search, analytics, or creative automation. Modern approaches use CNNs or vision transformers trained on labeled fashion datasets. Edge cases like layering and occlusion are still hard.
What’s the difference between clothing detection, segmentation, and outfit analysis?
Clothing detection usually means drawing boxes around garments (where the item is). Segmentation is more precise: it labels pixels so the system knows the exact garment shape, which helps with layering and try-on. Outfit analysis goes beyond “what” and “where” to infer attributes and styling signals (like color harmony, formality, or trend tags). Many tools market “outfit analysis” but only do basic category + color tagging.
How accurate is clothing recognition AI in real-world photos?
Accuracy varies by category and photo conditions. Clear, front-facing product shots with good lighting typically perform far better than street photos with motion blur, heavy layering, or unusual silhouettes. Common failure points include black-on-black outfits, reflective materials, oversized fits, and accessories (belts, scarves) that get missed. If you need high precision (e.g., automated catalog mapping), plan for human review or confidence thresholds.
How do I choose the best AI outfit detection option for my business?
Start with your goal: creators often care about speed and video-ready outputs, while retailers care about structured tags and catalog matching. Compare options on (1) segmentation quality, (2) attribute depth (pattern, material cues, style), (3) API vs no-code workflow, (4) pricing per image/video, and (5) rights/privacy controls. If your pipeline ends in short-form video, prioritize tools that connect detection to creative generation rather than raw labels.
Brief conclusion
AI outfit detection is at its best when you treat it like a workflow tool, not magic. If you need vertical content fast, a video-first option like Outfit Video gets you from photo to post with minimal friction. If you need serious tagging, search, and “shop the look” infrastructure, an API-first clothing recognition AI stack gives you the controls to do it properly.
Whichever route you pick, bake in confidence thresholds and a small review loop. That’s how you keep the results clean when the photos get messy.
Related Articles
Outfit Videos YouTube Shorts: Step-by-Step (2026)
Table of contents (jump links) If you’re here for outfit videos YouTube Shorts, you probably want two things: a repeatable process and results you can
Instagram Reels vs TikTok for Fashion Brands (2026)
Instagram Reels vs TikTok: the quick verdict for fashion brands If you’re deciding Instagram Reels vs TikTok in 2026, here’s the cleanest way to think
Vertical Video Creation for Fashion Brands (2026)
Table of contents (jump links) If you’re here for vertical video creation, you probably have one of two problems: you need better performance (watch t
Ready to make a choice? Start with Outfit Video’s free trial.